User Guide
Learn how to create apps, customize designs, build APKs, and send push notifications.
On this page
Creating Your First App
Once you're logged in, you can start creating apps for your website or platform.
Navigate to Apps Dashboard
After logging in, you'll be taken to your apps dashboard at User > Apps. This is where all your apps are listed.
Click "Create New App"
Click the Create New App button to open the app creation wizard.
Choose Platform
Select the platform for your app:
- Android WebView: Convert your website into an Android app (most popular)
- iOS: Coming soon
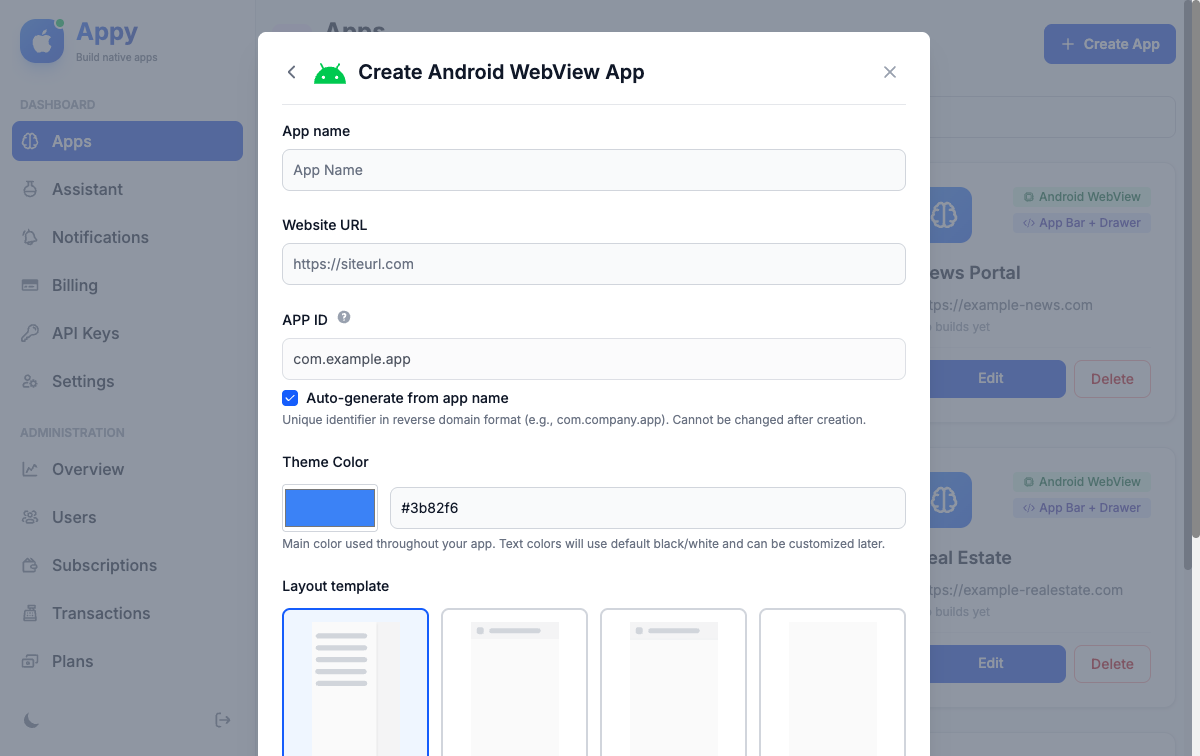
Enter Basic Information
Fill in your app details:
- App Name: The name of your app
- Website URL: Your website address (e.g., https://example.com)
- Package Name: A unique identifier (e.g., com.yourcompany.appname)
Tip: Package names must be unique and cannot be changed later. Use reverse domain notation like com.yourcompany.appname.
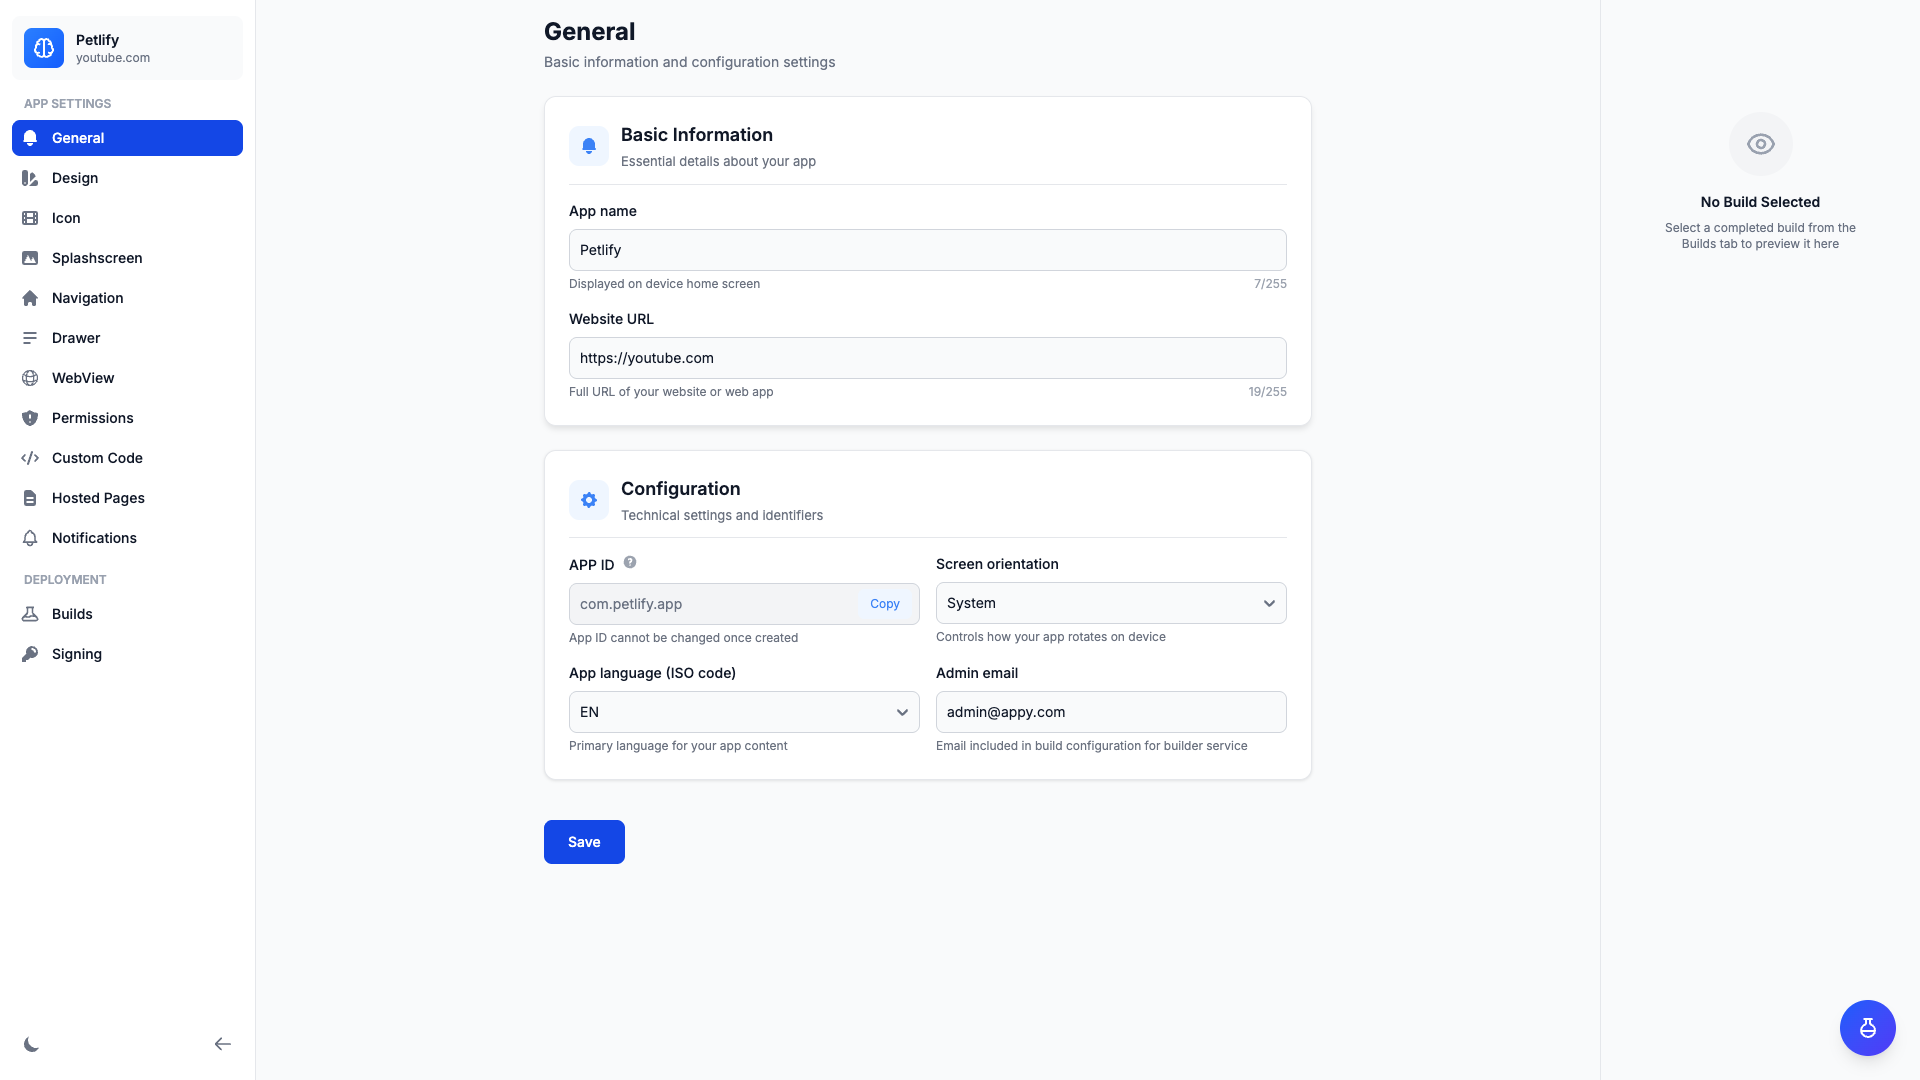
Configuring App Settings
After creating your app, you'll be taken to the app editor where you can customize everything about your app.
General Settings
Configure basic app information and versioning:
- App Name: Change your app's display name
- Website URL: Update the website your app loads
- Version Name: User-facing version (e.g., 1.0.0)
- Version Code: Internal build number (increment for each release)
- Package Name: View your unique package identifier
Design Settings
Customize your app's appearance:
- Theme Color: Primary color for Android's UI elements
- Title Color Scheme: Light or dark status bar and navigation bar
- Enable Dark Mode: Allow users to use dark theme
Icon Settings
Upload your app icon:
- App Icon: Upload a square PNG (512x512px recommended)
- Adaptive Icon: Separate foreground and background for modern Android devices
- Background Color: Color for adaptive icon background
Important: Use high-quality icons. Low-resolution or blurry icons may be rejected by the Google Play Store.
Splash Screen Settings
Configure what users see when launching your app:
- Background Type: Solid color or image
- Background Color: Hex color code (e.g., #3B82F6)
- Background Image: Full-screen background image
- Icon Type: Choose between app icon or custom image
- Splash Text: Optional tagline below the icon
Navigation Settings
Choose how users navigate your app:
- Navigation Bar Type: None, Bottom Navigation, or Drawer
- Bottom Bar Visibility: Always visible or auto-hide when scrolling
- Navigation Items: Add menu items with labels, icons, and URLs
Drawer Settings
If using a navigation drawer (hamburger menu):
- Enable Drawer: Show/hide the navigation drawer
- Drawer Position: Left or right side
- Drawer Logo: Upload a logo for the drawer header
- Background Image: Optional background for drawer header
- Drawer Items: Menu items for drawer navigation
WebView Settings
Control how your website behaves in the app:
- Enable JavaScript: Required for most modern websites
- Enable Zoom Controls: Allow users to pinch-to-zoom
- User Agent String: Custom user agent (optional)
- Cache Mode: Control browser caching behavior
- Show Loading Indicator: Display a progress bar while loading
- Error Page URL: Custom error page when offline
Permissions Settings
Select Android permissions your app needs:
- Internet (automatically included)
- Camera
- Location (Fine and Coarse)
- Microphone
- Storage (Read and Write)
- And more...
Tip: Only request permissions your app actually uses. Excessive permissions may discourage users from installing.
Custom Code (Advanced)
If your plan includes custom code, you can inject HTML, CSS, and JavaScript:
- Custom HTML (Head): Injected into the WebView's <head> tag
- Custom HTML (Body): Injected before the closing </body> tag
- Custom CSS: Additional styling for your web content
- Custom JavaScript: Add analytics, chatbots, or custom functionality
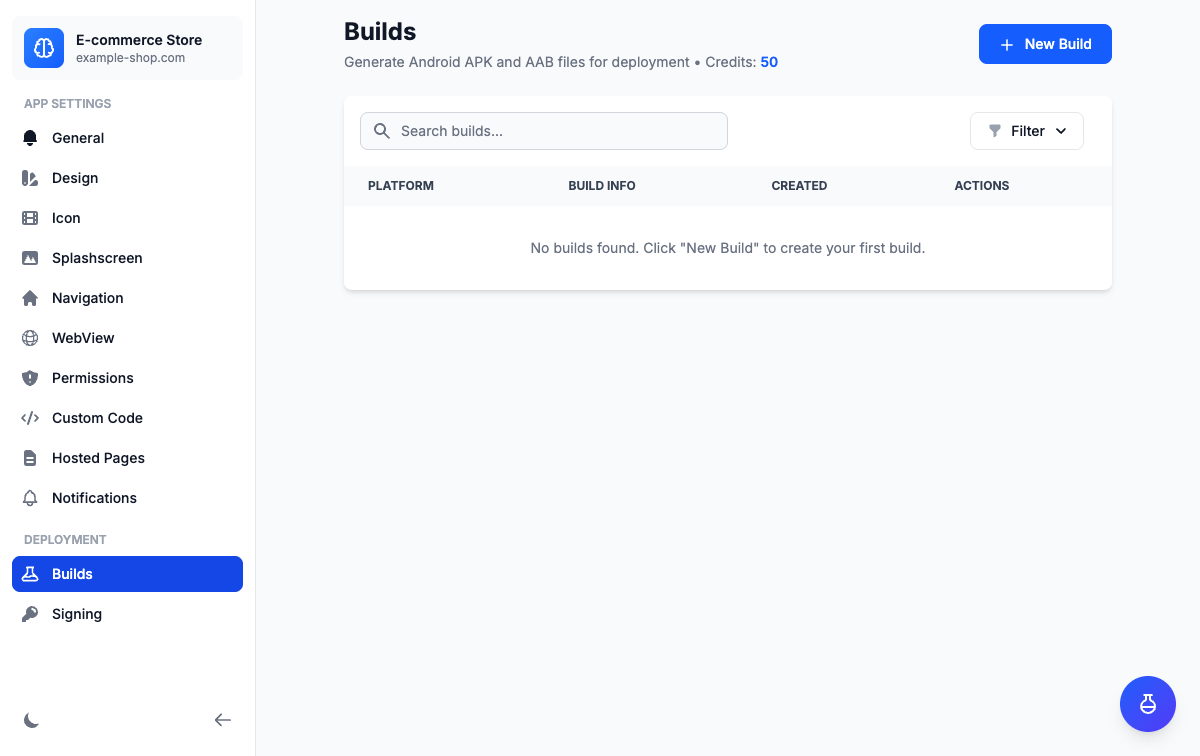
Building Your App
Once you've configured your app, you can build it into an installable APK file.
Understanding Build Credits
Each app build consumes build credits from your subscription plan. Your available credits are shown in the top navigation bar.
Triggering a Build
Navigate to Builds Tab
In your app editor, click the Builds tab.
Click "Build App"
Click the Build App button to open the build modal.
Choose Build Options
- Build Type: Debug (for testing) or Release (for publishing)
- Build Format: APK (easy install) or AAB (for Google Play)
- Signing Key: For release builds, select or upload a keystore
Confirm and Build
Review the credit cost and click Build App. Your build will be queued.
Build Status
Monitor your build progress in the Builds tab:
- Pending: Waiting for an available builder
- Building: Currently being compiled
- Completed: Ready to download
- Failed: Build encountered an error
Most builds complete within 5-10 minutes. You'll receive an email notification when your build is ready.
Downloading Your App
Once completed, you can:
- Download APK/AAB: Click the download button to get the file
- Scan QR Code: Install directly on your Android device by scanning
- Preview in Browser: If Appetize is enabled, preview without downloading
- View Build Logs: Check compilation details and troubleshoot errors
Signing Keys for Release Builds
Release builds require a signing keystore. You can:
- Generate New Keystore: Click "Generate Keystore" to create one automatically
- Upload Existing Keystore: If you have one from a previous app
Critical: Save your keystore file and passwords securely. You cannot update your app on Google Play without the original keystore.
Sending Push Notifications
Keep users engaged by sending push notifications directly to their devices.
Setting Up Firebase
Before sending notifications, you need to configure Firebase for your app:
Create Firebase Project
Go to Firebase Console and create a new project.
Add Android App
Click Add app, select Android, and enter your package name from Appy.
Download Configuration Files
Download google-services.json and service account credentials JSON.
Upload to Appy
In your app's Notifications tab, upload both JSON files and enable push notifications.
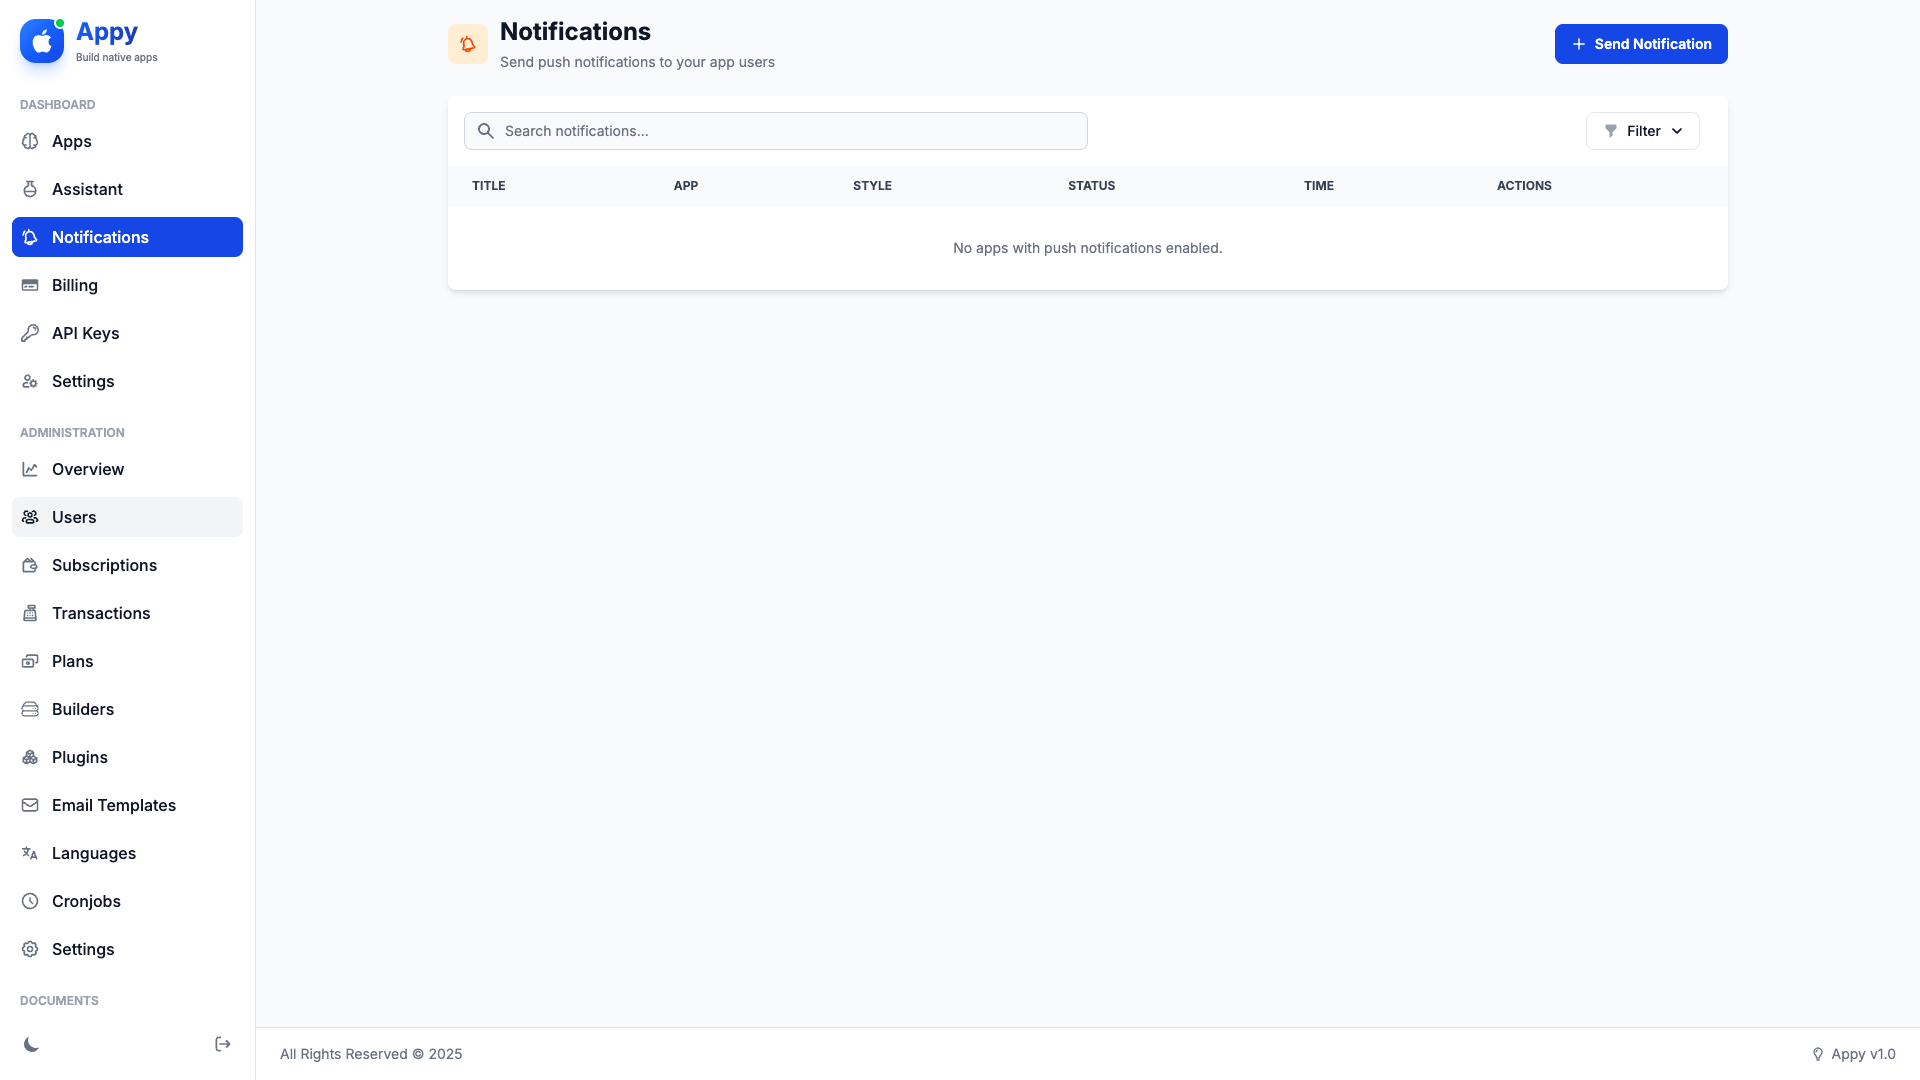
Sending a Notification
Once Firebase is configured:
- Navigate to User > Notifications
- Click Send Notification
- Select the app to send to
- Enter notification title and message
- Optionally add an image URL
- Choose to send now or schedule for later
- Click Send Notification
Note: Notifications are only received by users who have installed your app and granted notification permissions.
Managing Your Subscription
View and manage your subscription plan and billing information.
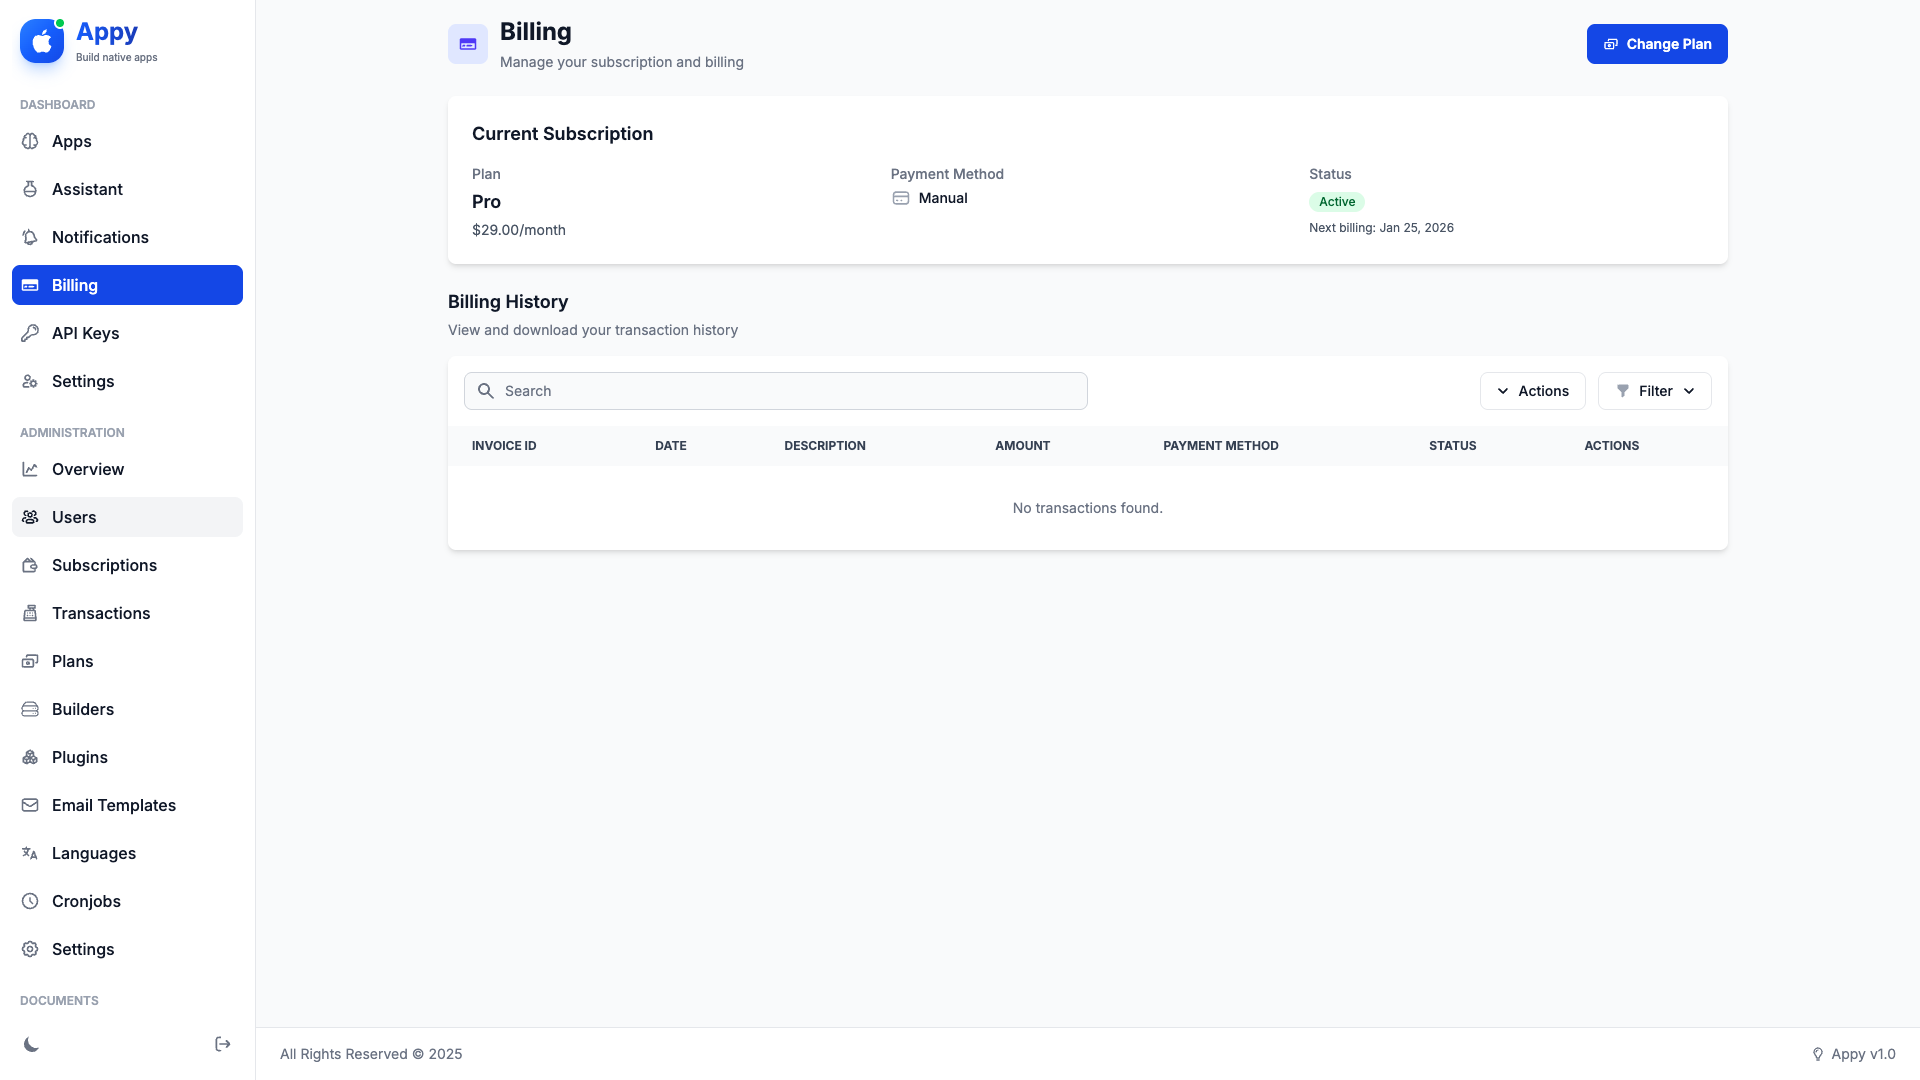
Viewing Your Plan
Navigate to User > Billing to see:
- Your current plan name and price
- Available build credits
- Appetize preview minutes (if applicable)
- Plan features and limits
- Next billing date
Upgrading or Downgrading
To change your plan:
- Click Change Plan on the billing page
- Select a new plan
- Choose a payment method
- Complete the payment
- Your plan changes immediately
Canceling Your Subscription
To cancel:
- Go to User > Billing
- Click Cancel Subscription
- Confirm cancellation
- You can continue using your plan until the end of the billing period
- After expiration, you'll be downgraded to the free plan
Transaction History
View all your past payments and download invoices from the billing page. Click on any transaction to view or download a PDF invoice.
© 2026 Titan Systems. All Rights Reserved.